on Safety Orders Over $99 or $8.99 Flat Rate Shipping
on Orders Below $99 *Exclusions Apply*
Free shipping

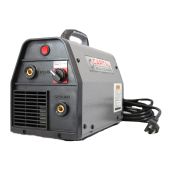
| Part Number | K-E550P-F2542-RB1 |
|---|---|
| Manufacturer | Ensitech |
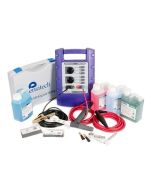

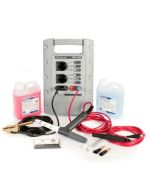

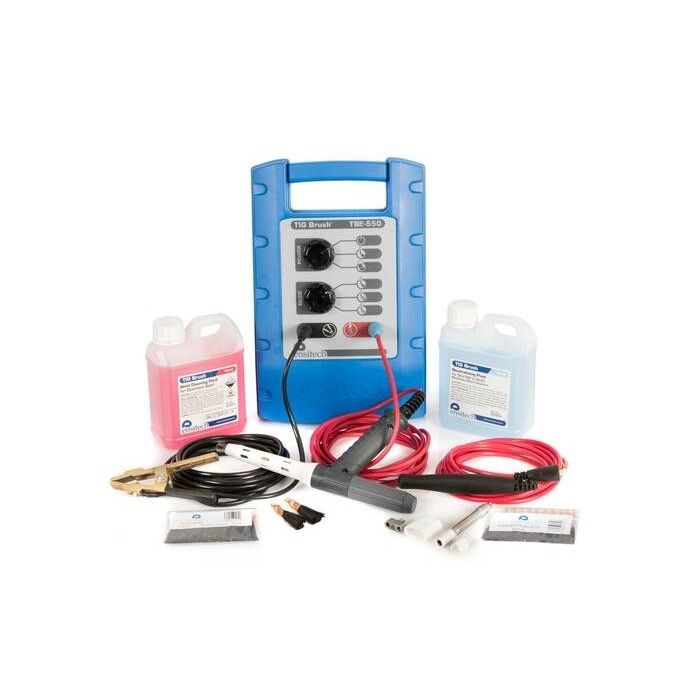
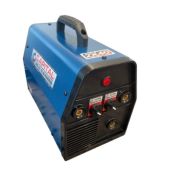
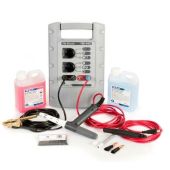
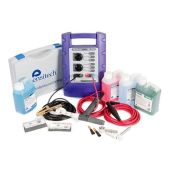
Product picture shown is for illustration purposes only. Actual product contents may vary due to factory product updates and changes. See below kit contents for the full included contents.
Kit Contents:
The TBE-550 utilizes a specifically focused adaptation of the 700 series design, to align its performance with Ensitech's latest technological advance, the Propel Torch.
As you would expect, this gives you superior results consistently and reliably delivered by our proven combination of heat, electricity, and the use of genuine TIG Brush cleaning, marking, and etching fluids.
TIG Brush's ongoing innovation and patented power delivery system gives you peace of mind in the knowledge that you have achieved the industry's highest level of passivation in a fast but safe way.
To retain its leading position, Ensitech understood the necessity to think outside the box. User focus has now shifted from the power supply to the application process; the user requires a solution that is fast, safe, ergonomic, and economical.
The design (patent pending) of the Propel Torch differs radically. The "T" shaped handle allows the user's wrist to assume a more natural position during weld cleaning, reduces user fatigue, and provides a safer, more powerful method of cleaning.
The Propel Torch also gives the TIG Brush user the ability to limit the brush length exposed from the shroud to ensure the brush is used to maximum efficiency.
Propel Torch Features
Extended Brush Life - The Propel Torch gives the TIG Brush user the ability to limit the brush length exposed from the shroud to ensure the brush is used to maximum efficiency.
The concentration of Power - The Propel Torch automatically confines the tip of the brush to a much smaller diameter compared to conventional brush handles giving a greater concentration of power to the area being cleaned.
Fingertip Brush Length Adjustment - The Propel Torch allows a single rotation of the adjustment control to either extend or retract the required amount of exposed brush to adapt to all weld cleaning requirements.
Patented Quick-Release Brush - The Propel Torch has a patented threadless quick-release brush system that allows easy removal and replacing of the brush tips, and no more issues of corroded threaded brushes.
Economical & Cost Saving - The Propel Torch gives the user up to 3 times more brush life (if used per manufacturer recommendation), thus massively reducing the cost of brush consumables and lowering the overall cost of production.